13화: 나리히사고와 혼도마치가 키키 위협을 중화하기 위해 존 워커를 시뮬레이션된 자살 타임라인에 가두다
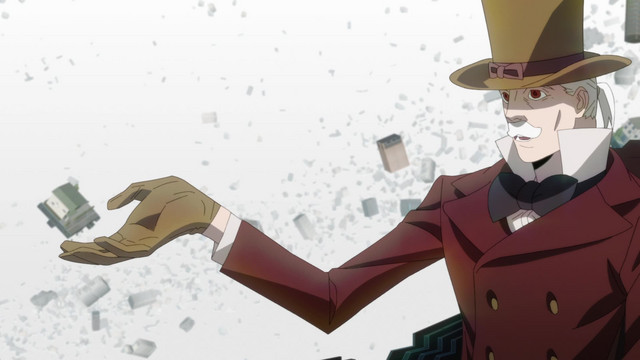
Narihisago and Hondomachi attempt to kill John Walker, but find he cannot be killed due to being a permanent part of Kiki's Well. They decide to lead him into the id Well from the first episode made from Fukuda's cognizant particles, and trick Walker into entering a Kura cockpit secretly brought in by Fukuda before his death. This new cockpit transfers Walker's mind to the scene in the previous episode right before he committed suicide, with Narihisago successfully apprehending him in that timeline. With Walker dead in the real world and apprehended in the Well world, he is no longer a threat. In the real world, Momoki reaches Kiki and offers to save her. Kiki declines, realizing she is too big of a threat to exist outside of the Mizuhanome, especially since she is beginning to share thoughts and dreams with others across the world. She agrees to re-enter the Mizuhanome, with Momoki promising to find a way to save her. The environment returns to normal after she is contained and everyone wakes up, except for people like Fukuda who died in the Well world. Narihisago and Hondomachi are extracted from the Kiki's Well. An epilogue states Chief Hayaseura's death was reported as a suicide, and all of the events surrounding Kiki and the Mizuhanome were covered up by the Kura Department. The ending scene shows Narihisago and Hondomachi working together as Wellside detectives, continuing to enter id Wells and catching killers. (Source: Wikipedia)
에피소드 수
- 9화 · 나리히사고가 무쿠 살해 당일의 기억과 새로운 능력을 그대로 간직한 채로 돌아온다.
- 10화 · 나리히사고가 존 워커를 조사하는 동안 키키의 정신이 악화되고 웰 월드가 붕괴된다.
- 11화 · 나리히사고와 후쿠다가 혼도마치를 점령하고, 하야세우라가 전력을 차단하며 키키를 각성시킨다.
- 12화 · 수장 워커가 키키를 석방하고, 거대한 수사 계획을 추진하며 정신을 가두기 위해 연쇄살인범 웰스를 만들어냅니다.
- 13화 · 나리히사고와 혼도마치가 키키 위협을 중화하기 위해 존 워커를 시뮬레이션된 자살 타임라인에 가두다